Summer is here (in the northern hemisphere) and I was looking at my leftover fabrics to upcycle them into something useful for the summer. Then I thought what about a tote bag that I can take to beach with me (not that there are any beaches near me at the moment, but I am hopeful that I will go to one before the end of summer and I will take my tote bag with me!)
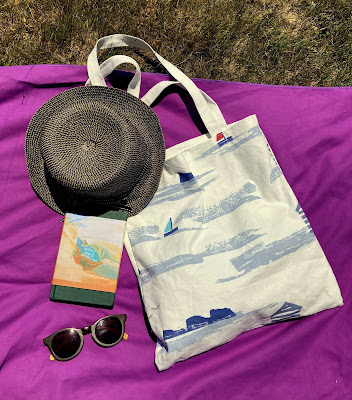 |
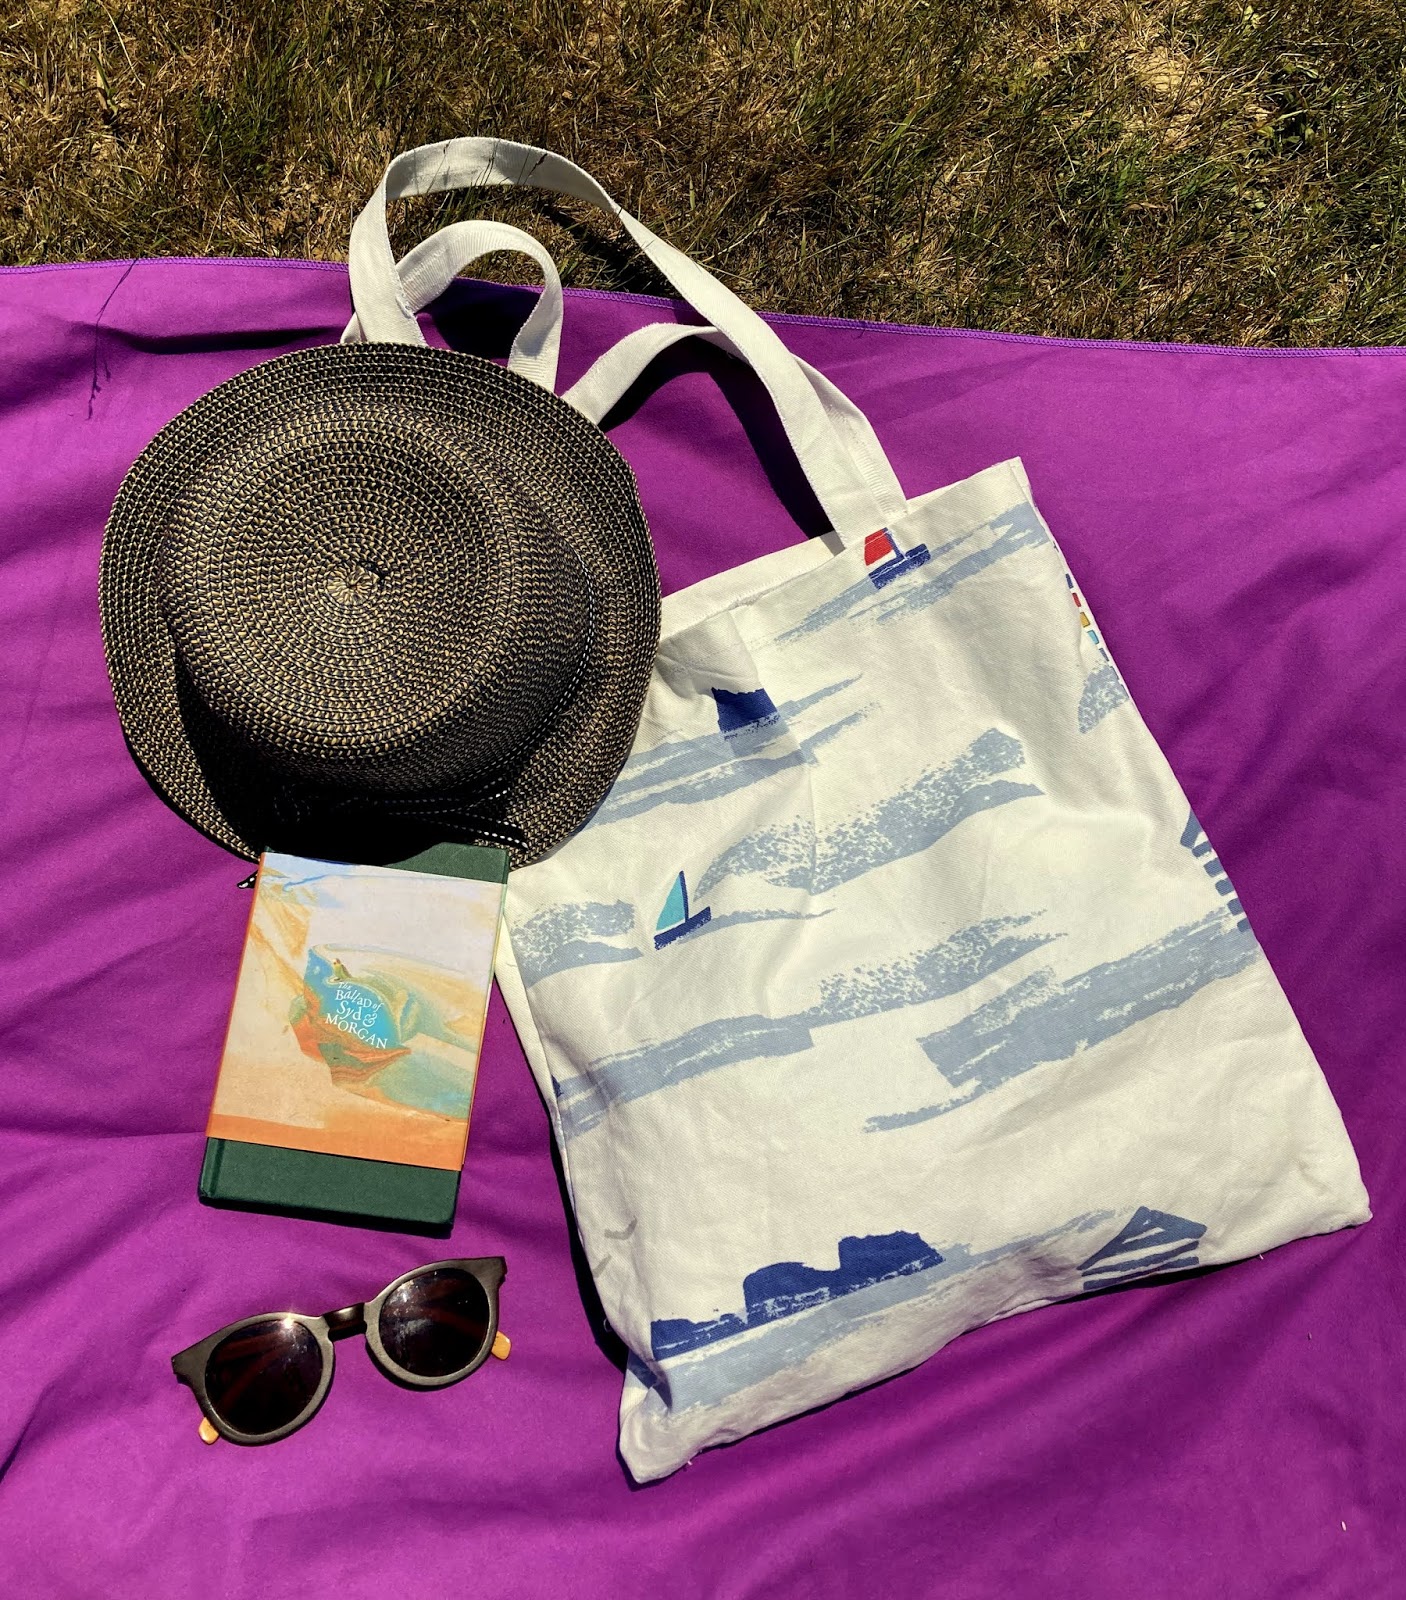
| DIY tote bag ready for the beach |
Turkish below/Türkçe açıklama aşağıda
So, here is how I made a very simple and sturdy DIY tote bag:
You will need fabric, tape, scissor, and sewing machine.
 |
| Things to have for getting started |
Deciding on the dimensions first is important. If you already have a tote bag that you like, you can measure it to get dimensions for your DIY tote bag. Mine will be 35cm wide and 40cm long with 70 cm long 3cm wide straps (35 cm to hang on both sides from the shoulder). We will be also adding 1 cm on each edge for the slack and 2 cm for the top edges. So the fabrics I need to cut will be two 36cm x 43 cm fabric (for two sides of the tote bag) and two 75 cm x 6 cm (for the straps).
So let's start with cutting the fabric.
 |
| Cutting the fabric for the bag and straps |
Then we pin the top edges of the tote bag (2 cm folded in) and sew to create nice and clean edges.
 |
| Sewing top edges of the bag |
Then we put two fabrics (each side of the bag) on top of each other so that outer sides are facing each other and pin them to each other aligning all the edges. We go from one top edge to the other sewing 3 edges together (A to D as shown below). Then we cut any extra fabric on edges and then do a zigzag stitch to the edges so that they don't fray.
 |
| Sewing each side of the bag to each other |
Now, it is time to make the straps. We fold the straps widthwise and pin them on edges. Then we sew two edges together.
 |
| Sewing the straps of the tote bag |
Now we pin two ends of one strap to one side of the tote bag on the top edge (I pinned them so that there is 10 cm between the end of the strap and the side of the tote bag). Then we sew them to the top edge of the bag. And we do the same for the other strap with the other side of the tote bag.
 |
| Sewing straps to the bag |
And we reverse the fabric and the tote bag is ready!
If you are wondering, the fabric I used is
John Lewis Margate Beach Huts, the same one that I made
my cushions from.
Hope you enjoy the tote bag and summer!
---------------------------------------------------------
BEZ ÇANTA YAPIMI
Yaz geldi (kuzey yarımkürede) ve kumaşlarıma onları yaz için yararlı bir şeye dönüştürmek için bakıyordum. Sonra yanımda plaja götürebileceğim bir bez çanta neden olmasın diye düşündüm (şu anda yakınlarımda bir plaj yok, ama umarım yaz bitmeden birine gideceğim ve bez çantamı benimle götürmeyi planlıyorum!)
Sağlam bir bez çantasını nasıl basit bir şekilde yaptığımı paylaşıyorum:
Gereken malzemeler kumaş, mezura, makas ve dikiş makinesi.
Önce çantanın boyutlarına karar vermemiz gerekiyor. Beğendiğiniz bir çantanız varsa, bunu ölçerek yapacağınız çantanın boyutlarına karar verebilirsiniz. Benim 35 cm genişliğinde ve 40 cm uzunluğunda bir çantam var. 70 cm uzunluğunda 3 cm genişliğinde kol askıları var (omuzdan her iki tarafa asmak için 35 cm olacak şekilde). Bu boyutları kullanarak ve ayrıca bolluk için her kenara 1 cm, üst kenarlara 2 cm ekledim. Sonuç olarak iki adet 36cm x 43cm boyutlarında (bez çantanın iki yüzü için) ve iki adet 75cm x 6cm boyutlarında (askılar için) kumaşlar kestim.
Öyleyse kumaşı kesmekle başlayalım.
Daha sonra bez çantanın üst kenarlarını 2 cm katlanmış bir şekilde tutturalım ve güzel ve temiz kenarlar oluşturmak için dikelim.
Daha sonra iki kumaşı (çantanın iki tarafını) dış tarafları birbirine bakacak şekilde üst üste koyalım ve tüm kenarları hizalayarak birbirine tutturalım. Bir üst kenardan diğerine kumaşların 3 kenarını birbirine dikelim (aşağıda gösterildiği gibi A'dan D'ye). Sonra kenarlardaki fazla kumaşları keselim ve ardından yıpranmaması için kenarlara zikzak dikiş yapalım.
Şimdi askıları yapma zamanı. Askıları enlemesine ikiye katlayalım ve kenarlarını iğnelerle sabitleyelim. Sonra katlanmış üstüste olan iki kenarı birbirine dikelim.
Şimdi bir askının iki ucunu çantanın bir yüzünün üst kenarına tutturalım (askının ucu ile çantanın köşesinden 10 cm uzakta olacak şekilde sabitledim). Sonra askıları çantanın üst kenarında dikelim. Diğer askı için de çantanın diğer yüzüne aynı şekilde dikelim.
Ve kumaşı tersine çeviriyoruz ve bez çantamız hazır!
Bez çantanızın ve yazınızın tadını çıkarmanızı dilerim!


Comments
Post a Comment